
Install wood floors with Woodloc® locking jointInstalling a wood floor from Kährs is efficient and straightforward, thanks to our precision-engineered Woodloc® locking joint system. This innovative technology locks boards together without the need for glue, creating a stable, gap-free surface that enhances both durability and performance. |
:quality(70))
How to
To ensure a smooth installation, we recommend reviewing our comprehensive installation guide and watching our step-by-step video. Whether it's a large commercial project or a boutique space, our system is designed to save time and deliver excellent results. |
Prepare, install, and enjoy a perfectly fitted Kährs floor—built to last. |
Before you begin
1
2
Dry & Flat Subfloor
A properly prepared subfloor is key to a successful wood floor installation. Make sure the surface is dry, level, clean, and structurally sound before installing your Kährs floor. Remove any existing carpet and debris to create a stable foundation. |
Depending on the subfloor type, a moisture barrier may be needed to protect against excess moisture and ensure long-term performance. Always check moisture levels and follow our installation guidelines for best results. |
3
Download guide
Read more about preparing the subfloor and underfloor heating. Check out our guide. |
Download installation guides
:quality(70))
:quality(70))
Quick tips
Even experienced installers can benefit from a few key tips to ensure a smooth Kährs hardwood floor installation: |
|
|
|
|
|
|
|
|
|
By following these steps, you’ll get a flawless, long-lasting wood floor with Kährs. |
Instructional videos
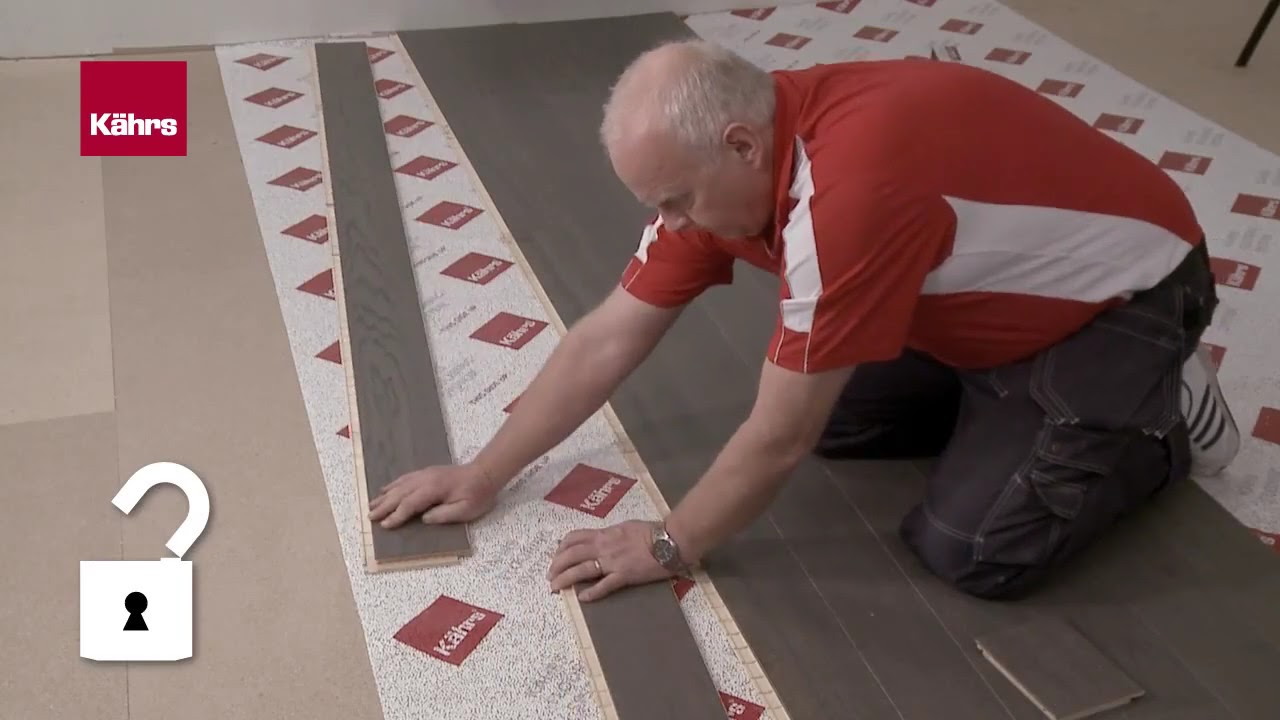
Standard installation
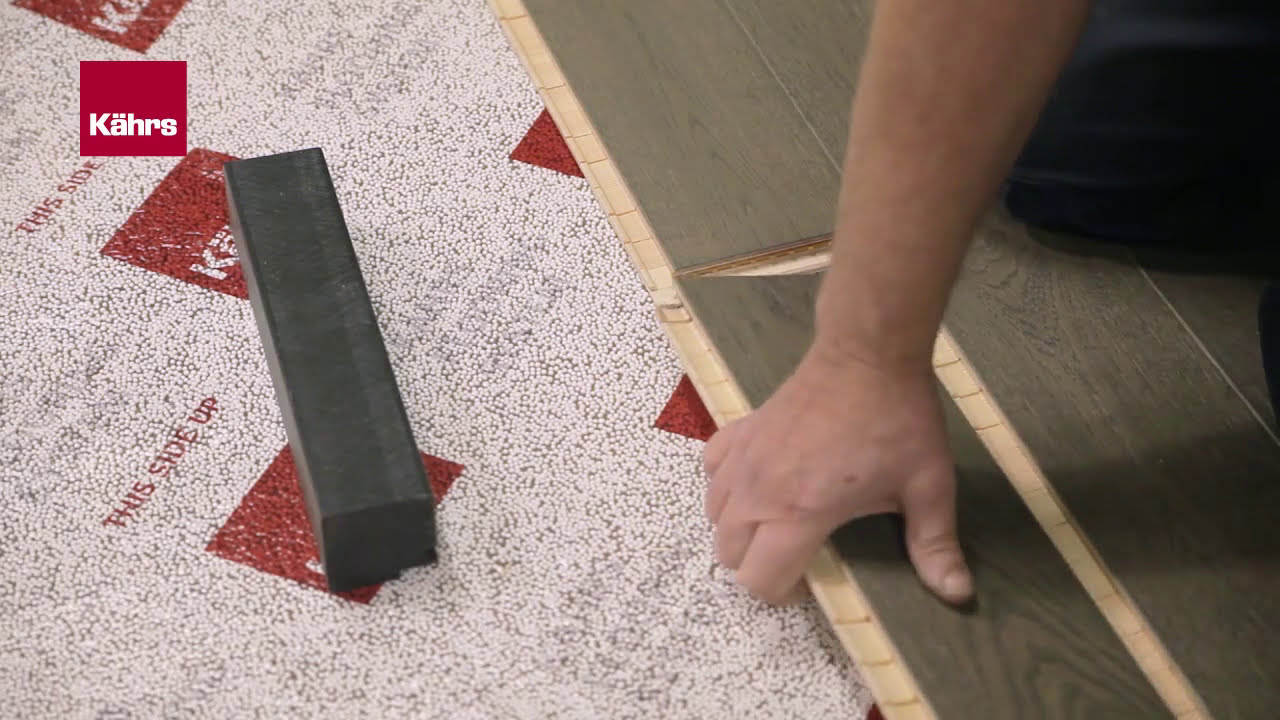
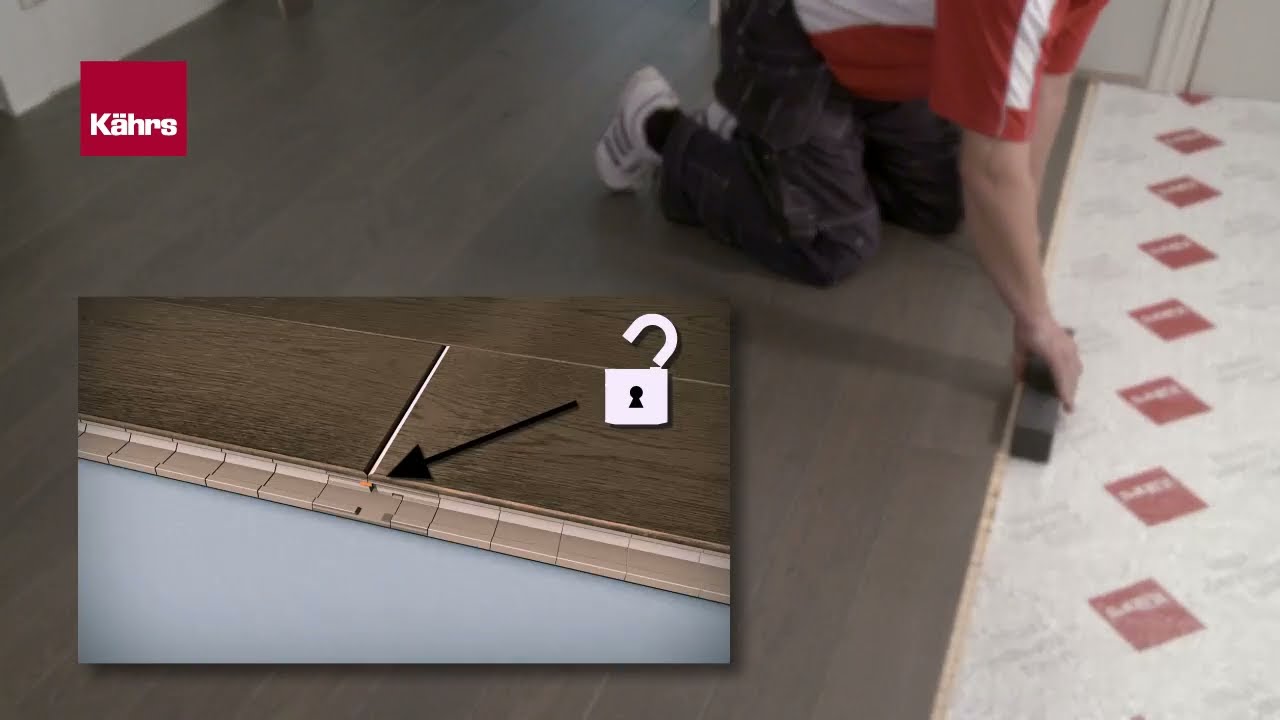
Locking system installation

Last row installation
Quick tips